Top 15 Kitchen Deep Cleaning Tips for a Hygienic Home in Sunbury, Kingston and Hampton
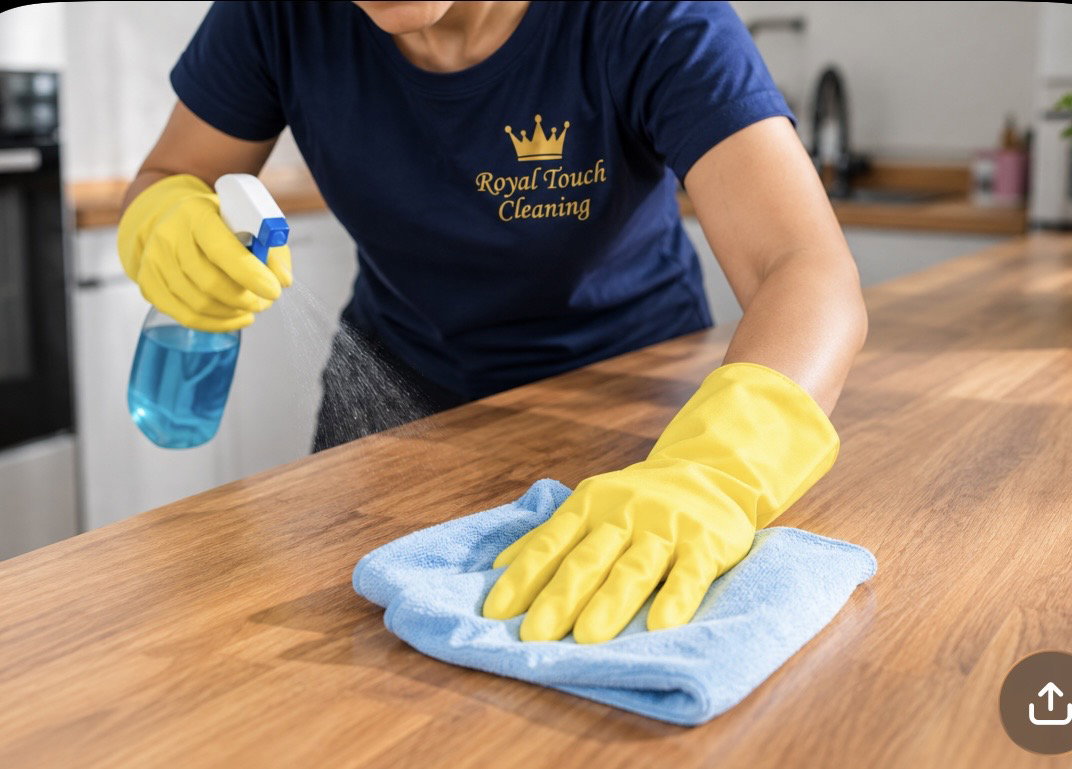
A clean kitchen is about more than appearances. In busy family homes across Sunbury, Kingston and Hampton, the kitchen is where hands touch cupboards, children snack at counters, bins open daily, and cooking splashes land in places you do not always notice. Deep cleaning tackles the hidden grease, limescale, crumbs, and bacteria that regular wipe downs can miss. It also helps appliances run better, reduces odours, and makes everyday cleaning faster.
This guide shares 15 practical kitchen deep cleaning tips you can use in any home, from compact flats near Kingston town centre to larger family kitchens around Hampton and Sunbury. Each tip focuses on hygiene, efficiency, and safe methods, including when to avoid harsh chemicals and how to protect surfaces. If you would rather hand the job to trusted professionals, Royal Touch Cleaning provides reliable domestic cleaning, deep cleaning, regular cleaning and end of tenancy cleaning across West London and Surrey, including Sunbury, Kingston and Hampton.
Before you start, set yourself up for success
Deep cleaning goes smoothly when you prepare like a pro. Clear the sink, empty the draining rack, and remove items from countertops. Open a window for ventilation. Keep a small box or bag for items that belong elsewhere so you do not get distracted walking around the house. Finally, work top to bottom so dust and crumbs fall to areas you still plan to clean.
- Gather basics: microfibre cloths, non scratch sponge, washing up liquid, bicarbonate of soda, white vinegar, a small brush or old toothbrush, rubber gloves, bin liners, and a mop or floor cleaner suitable for your flooring.
- Optional helpers: steam cleaner, degreaser suitable for kitchen use, limescale remover for taps, and a vacuum with crevice tool.
- Safety note: never mix bleach with vinegar or other acids. When in doubt, use warm soapy water first, then a targeted product with the label directions.
Tip 1, Start with a 10 minute declutter and expiry check
Deep cleaning is the perfect moment to reduce what is on your counters and in your cupboards. Less clutter means fewer places for crumbs, sticky residue, and dust to collect. Begin by removing anything that does not belong in the kitchen, then quickly check food dates so you are not cleaning around items you will throw away later.
In homes with limited storage, which is common in parts of Kingston and Hampton, it is easy for counters to become storage zones. A declutter resets the space and makes the rest of your deep clean faster and more effective.
- Empty the worktops completely, including utensil pots, spice racks, and oil bottles.
- Check bread bins, snack drawers, and cereal cupboards for open packets attracting pests.
- Wipe any sticky jars before returning them to shelves.
- Keep a donation bag for unopened, in date food you will not use, if you have a suitable place to donate locally.
Tip 2, Clean high touch points first to reduce cross contamination
Some kitchen surfaces are touched constantly, often with hands that have handled raw food packaging, phones, and deliveries. Tackling these early reduces the spread of germs while you work. Use a fresh microfibre cloth with warm soapy water, then follow with a kitchen safe disinfectant if needed. Pay attention to handles and buttons where grime builds up in fine creases.
- Fridge and freezer handles, including integrated door grooves.
- Bin lid, pedal, and rim.
- Kettle handle and base switch area.
- Microwave door button, oven knobs, and extractor fan buttons.
- Cabinet pulls, especially near the hob and prep area.
Let disinfectant dwell for the recommended time on the label. Many people wipe too quickly, which reduces effectiveness. If you have stone worktops, check product suitability to avoid dulling or etching.
Tip 3, Degrease cupboards, doors, and splash zones
Grease does not stay near the hob. It becomes airborne during cooking, then settles as a thin film on cupboard doors, tiles, and paintwork. Over time, it traps dust and turns into sticky grime that can smell stale. In households that cook frequently, this build up can happen quickly, especially on units above and beside the cooker.
Use warm water with a few drops of washing up liquid for most finishes. For heavy grease, use a kitchen degreaser tested on a small hidden area first. Always dry after cleaning so moisture does not swell cupboard edges.
- Start at the top units and work downwards.
- Pay attention to the top edge of cabinet doors where fingers pull to open them.
- Clean around handles and hinges where grime hides.
- Wipe the splashback, including grout lines if tiled.
- Finish by buffing with a dry cloth to remove streaks.
If you are doing end of tenancy cleaning in Kingston or Hampton, this step is crucial. Letting agents often look for grease on cupboards and splashbacks because it shows up under bright inspection lighting.
Tip 4, Deep clean the hob safely, based on the type
Hobs collect burnt on spills, oil splatters, and food debris. A deep clean improves hygiene and reduces smoke and smells when cooking. The best method depends on your hob type, so choose a safe approach to avoid scratches and damage.
- Gas hob: remove pan supports and burner caps. Soak in hot soapy water. Use a non scratch sponge on the surface, then a small brush around igniters. Dry everything fully before reassembling.
- Ceramic or induction: scrape gently with a hob scraper at a low angle once the surface is cool. Then use a dedicated hob cleaner or a paste of bicarbonate of soda and water for residue. Buff dry for a clear shine.
- Solid plate electric: wipe with a damp cloth and mild cleaner, avoid soaking. Check the manufacturer guidance, as water can seep into the plate edges.
For stubborn burnt spots, lay a warm, damp cloth over the area for a few minutes to soften residue before wiping. Avoid steel wool, which can scratch and trap more grime later.
Tip 5, Tackle the oven with a low effort soak method
Ovens are one of the most time consuming kitchen deep cleaning jobs, but a planned method helps. Start by removing racks, trays, and any loose debris. If you have the space, soak racks in very hot water with washing up liquid. For extra power, add bicarbonate of soda. Grease lifts more easily after soaking, reducing scrubbing time.
Inside the oven, you can use a paste of bicarbonate of soda and water spread over greasy areas, avoiding heating elements and fan vents. Leave it for several hours or overnight if possible, then wipe away with a damp cloth. A little white vinegar sprayed on the residue can help fizz away remaining paste, but ventilate well and avoid mixing with any bleach based products.
- Clean the oven door glass inside and out, including edges where grease drips.
- Wipe the door seals gently, do not pull or soak them.
- Empty and wipe the grill pan and tray inserts.
- Finish with a final wipe using clean water to remove product residue.
For end of tenancy cleaning across Sunbury, Kingston and Hampton, oven condition is one of the most common reasons deposits are questioned. Professional deep cleaning can be a worthwhile investment if the build up is heavy.
Tip 6, Do not forget the extractor fan and filters
Extractor fans collect a thick layer of grease and dust. When filters are clogged, extraction becomes less effective and cooking odours linger. This is a hygiene and comfort issue, especially in open plan layouts where kitchens connect to living spaces.
Most metal grease filters can be washed. Remove the filter carefully and check the manual. Many can soak in hot water with washing up liquid and bicarbonate of soda, then be scrubbed gently and rinsed. Ensure it is completely dry before refitting.
- Wipe the extractor hood exterior, including buttons and underside edges.
- Clean the fan cover and the visible interior areas you can safely reach.
- If filters are charcoal and non washable, replace according to manufacturer guidance.
- Set a reminder to repeat every 4 to 8 weeks if you cook often.
A clean extractor also reduces greasy film settling on cupboards and walls, making the rest of your cleaning easier.
Tip 7, Clean the fridge properly, shelves, seals, and vents
The fridge is a hygiene hotspot because it stores ready to eat foods and raw ingredients. Spills can drip into drawer rails and corners, and seals can harbour mould if they stay damp. A deep clean keeps food fresher and reduces unpleasant odours.
Start by placing chilled items in a cool bag, especially in warmer months. Remove shelves and drawers and wash them in warm soapy water. Avoid very hot water on cold glass shelves, as sudden temperature changes can crack them. Wipe the interior with warm soapy water, then finish with a clean damp cloth.
- Use a small brush or cloth to clean door seals, then dry fully.
- Wipe the top interior where condensation can collect.
- Check the fridge drain hole if your model has one, clear any blockage gently.
- Vacuum the grille or vents if accessible, dust build up affects efficiency.
When you restock, group items to reduce spills. Use clear containers or a tray for raw meat to prevent drips onto other foods.
Tip 8, Refresh the freezer to prevent odours and frost problems
Freezers can become cluttered, making it harder to keep track of what you have. Open packets can spill, and frost build up can reduce space and efficiency. Even if you do not defrost, you can still deep clean key parts.
- Check dates and labels, discard freezer burned items.
- Wipe drawer fronts and handles, they are touched with wet hands and can get grimy.
- Clean the door seal, then dry to prevent sticking.
- If your freezer requires manual defrosting, follow the manufacturer instructions and protect floors with towels.
To control odours, keep foods sealed and consider storing strong smelling items in double bags. A tidy freezer also helps with meal planning, which can reduce food waste in the long run.
Tip 9, Sanitise the sink, taps, and draining area, then descale
The kitchen sink handles raw food rinsing, dirty dishes, and everyday hand washing. It can look clean but still harbour bacteria in the plughole area, around the overflow, and at the tap base. Start by removing dishes and wiping away crumbs. Wash the sink with warm soapy water. Then, for a deeper hygienic finish, use a suitable disinfectant or a targeted product designed for sinks.
Limescale is common in many London and Surrey areas, and it can make taps look dull and feel rough. To descale, apply a limescale remover suitable for your tap finish, or use white vinegar on a cloth, if your finish allows it. Avoid vinegar on natural stone or delicate plated finishes unless you are confident it is safe. Rinse well and dry for shine.
- Scrub around the plug, chain, and overflow using a small brush.
- Clean the tap aerator, unscrew if possible and rinse out debris.
- Wipe and disinfect the draining board and any drying rack.
- Finish by polishing with a dry microfibre cloth to reduce water marks.
Tip 10, Deep clean the dishwasher, filter, spray arms, seals
Dishwashers clean dishes, but they also need cleaning. Grease, food particles, and soap residue build up in filters and seals. This can cause smells, poor cleaning results, and cloudy glassware. Deep cleaning your dishwasher improves hygiene and performance.
Start by removing the bottom rack and locating the filter, usually at the base. Remove it carefully and rinse under warm water. Use a soft brush to clean trapped debris. Next, inspect spray arms. Many models allow you to lift them out or remove end caps to rinse out blockages. Wipe the door edges and seals where residue collects.
- Run a hot cycle with a dishwasher cleaner, following the product instructions.
- Alternatively, place a bowl of white vinegar on the top rack and run a hot cycle, if your manufacturer permits it.
- Wipe the detergent drawer, as sticky residue reduces dosing accuracy.
- Check salt and rinse aid levels, they affect spotting and scale.
If you notice persistent odours, clean the filter more frequently, as often as weekly in busy households.
Tip 11, Clean small appliances, crumbs, grease, and hidden trays
Toasters, air fryers, coffee machines, blenders, and food processors are used often and cleaned inconsistently. Crumbs and oils can become rancid, attract pests, and create unpleasant smells. Deep cleaning small appliances also improves taste, especially for coffee and toasted foods.
- Toaster: unplug, empty the crumb tray, shake gently over a bin, and wipe the exterior. Never insert metal objects inside.
- Air fryer: soak the basket and tray, then scrub gently. Wipe the interior with a damp cloth once cool.
- Coffee machine: descale as directed by the manufacturer. Clean removable parts and drip trays.
- Blender: wash the jug and seal thoroughly, check around the blade area for trapped residue.
Always unplug appliances before cleaning and avoid letting water enter vents or electrical areas. If you live in a hard water area around Kingston or Hampton, descaling kettles and coffee machines regularly can prevent mineral build up that affects performance.
Tip 12, Attack the microwave, inside, outside, and the turntable
Microwaves collect splatters that harden and become difficult to remove. A simple steam method makes this quick and reduces scrubbing. Place a microwave safe bowl of water inside, optionally with a slice of lemon for freshness. Heat for a few minutes until steam forms, then leave the door closed for a short time so the moisture loosens residue. Carefully remove the bowl and wipe the interior with a cloth.
- Wash the turntable and ring in warm soapy water, dry fully before replacing.
- Wipe the door edges and seals, splatters often hide there.
- Clean the control panel and handle as high touch points.
- Check the microwave vents, wipe dust away with a dry cloth.
A clean microwave reduces odours transferring between foods, which is especially helpful for shared households and family kitchens.
Tip 13, Clean and disinfect bins, recycling containers, and the bin cupboard
Bins are one of the biggest sources of kitchen odours. Even with liners, leaks and residue build up under the rim and at the base. Recycling containers can also smell, especially after rinsed but still sticky packaging. Deep cleaning these areas makes the whole kitchen feel fresher.
Take bins outside if possible. Empty them fully. Wash with hot soapy water, scrub the lid and rim, then rinse. Apply a disinfectant suitable for the bin material and let it sit for the required contact time. Dry thoroughly before placing a new liner. Then clean the floor and sides of the bin cupboard, where crumbs and drips collect.
- Wipe pedals and hinges, grime builds up in moving parts.
- Keep a small deodorising solution at the bottom, such as a sprinkle of bicarbonate of soda, away from pets and children.
- Rinse recycling quickly after use, sticky residues attract insects.
- Check for gaps behind the bin area, vacuum crumbs to reduce pest risk.
In warmer months in Sunbury and Hampton, frequent bin cleaning can make a noticeable difference to kitchen freshness.
Tip 14, Detail the worktops, cutting boards, grout, and corners
Worktops and prep areas look clean after a quick wipe, but deep cleaning focuses on seams, edges, and micro scratches where bacteria can linger. Start with warm soapy water to remove grease. Then use a suitable disinfectant for your surface type. Always check compatibility, especially for natural stone, wood, and specialty laminates.
Cutting boards deserve special attention. Plastic boards can go in the dishwasher if permitted. Wooden boards should be scrubbed with hot soapy water, rinsed, dried upright, and occasionally treated with food safe mineral oil. If a board has deep grooves and smells persist, it may be time to replace it.
- Clean and disinfect the area around the cooker and the main prep zone.
- Use a small brush to clean grout lines on tiled worktop edges or splashbacks.
- Wipe the underside lip of worktops where hands touch, especially near drawers.
- Check corners near the sink, water pooling can lead to mould.
If you use a silicone sealant line around the sink and it has mould staining that will not lift, resealing may be the most hygienic long term solution.
Tip 15, Finish with floors, skirting, and a simple maintenance plan
Kitchen floors catch everything, from crumbs and pet hair to greasy droplets. Deep cleaning floors is the final step because any debris from earlier tasks falls downward. Begin by vacuuming thoroughly, using a crevice tool along the kickboards under cabinets, around appliances, and in corners. Then mop with a cleaner suitable for your floor type. Avoid soaking wood or laminate, as excess water can cause swelling.
Skirting boards and the lower fronts of cabinets often get scuffed and splashed. A quick wipe with warm soapy water lifts marks and makes the whole kitchen look refreshed. If you have children, these areas can show fingerprints and food smears quickly.
- Move small items like bins and stools so you can clean underneath.
- Spot clean sticky patches before mopping the entire floor.
- Finish by drying any puddles near the sink and dishwasher.
- Empty the vacuum after cleaning, kitchen debris can smell if left inside.
A simple routine to keep your kitchen hygienic between deep cleans
Deep cleaning is powerful, but maintenance is what keeps the results. A light routine helps you avoid heavy build up and keeps hygiene standards high, especially in busy households across Kingston, Hampton and Sunbury.
- Daily: wipe worktops, hob splashes, and high touch handles. Rinse the sink and wipe it dry.
- Weekly: clean the fridge shelves you spill on, wipe cupboard fronts near the hob, empty toaster crumbs, mop the floor.
- Monthly: clean dishwasher filter, degrease extractor filter if needed, descale kettle and taps based on limescale levels.
- Seasonally: full oven clean, deep fridge clean, clear and wipe pantry shelves, check for pests and gaps.
When to consider a professional kitchen deep clean
If your kitchen has heavy grease build up, mould staining, or you are preparing for an end of tenancy inspection, professional deep cleaning can save time and reduce stress. It is also helpful if you are juggling work, childcare, or mobility issues, or if you want a consistent hygienic standard alongside regular cleaning.
Royal Touch Cleaning offers reliable domestic cleaning services in Sunbury, Kingston and Hampton, with trusted cleaners who handle deep cleaning, regular cleaning and end of tenancy cleaning for homes across West London and Surrey. If you want support getting your kitchen to a sparkling, hygienic finish, you can request a free quote and choose a plan that fits your home and schedule.
Quick reference checklist, your 15 tip kitchen deep clean
- Declutter counters and check expiry dates.
- Clean high touch points first.
- Degrease cupboards and splash zones.
- Deep clean the hob by type.
- Soak and clean the oven and racks.
- Wash extractor filters and wipe the hood.
- Clean fridge shelves, seals, and vents.
- Refresh the freezer and tidy contents.
- Sanitise and descale sink and taps.
- Deep clean dishwasher filter and spray arms.
- Detail small appliances.
- Steam clean and wipe the microwave.
- Disinfect bins and the bin cupboard.
- Deep clean worktops, boards, grout, and corners.
- Vacuum and mop floors, wipe skirting, set maintenance routine.
A hygienic kitchen is built one small habit at a time, supported by an occasional deep clean that reaches the hidden areas. Use these tips as your repeatable plan, and your kitchen will stay cleaner, fresher, and easier to manage in every season.
